
What Is Wainscoting?
June 22, 2022
Decor
Are you looking to give rooms in your home a new look and feel? Have you tried repainting the walls or rearranging the furniture and still feel something is lacking? Then, you should try wainscoting to instantly redefine the look and feel of your rooms and add sophistication and style.
Wainscoting is an interior design method that dates back to the 13th century when King Henry III used it at Windsor Castle. It involved using wooden paneling and applying it to the walls in place of paint or wallpaper.
Originally, wainscotting covered the entire wall from floor to ceiling. This was primarily done so the wood could act as an insulating material to keep interior rooms warmer and block out the cold. However, it was not too long before wooden paneling caught on and was transformed into more of a decorative interior design technique.
This method really caught on during the English Renaissance period because wood paneling designs became more simplified and less detailed. As a result, more homes could enjoy this decorative style.
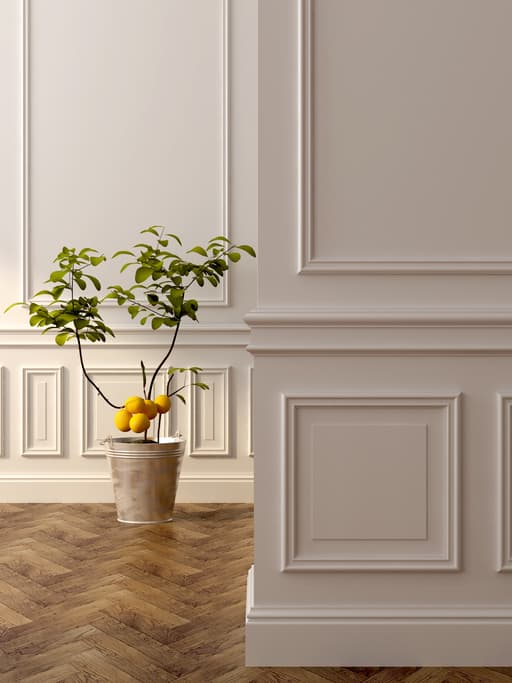
Originally, all the wooden panels were made of oak. Yet, as wainscoting has evolved over the centuries, so too have the materials used to panel walls. Today, it is acceptable to use wood, ceramic tiles, marble, copper, or any other type of material for paneling.
Where can wainscoting be placed?
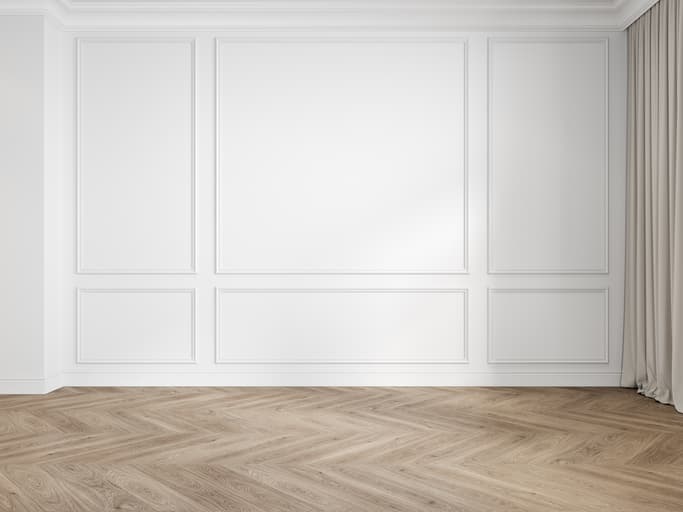
Initially, it was used to cover the entire wall from floor to ceiling. While this practice is still acceptable, it is more common to only panel part of the wall. Generally, the lower one-third of the wall is covered in wainscoting.
During the English Renaissance, many people adapted this practice of only using the lower section of the wall for wainscoting. Above the paneling, they would hang paintings or armor above the wainscoted walls to make the rooms more attractive.
However, there are some variations in the placement of the paneling due to modern and trendy interior design twists. For example, some people install the paneling on the upper one-third of their walls. This placement location is also perfect for above fireplaces to make the fireplace the room’s focal point.
Another acceptable practice is to place the panels in the middle one-third section of the wall, leaving the upper and lower sections painted or wallpapered.
How is wainscoting applied?
Installing wainscoting is not as complicated as you may think. It can be a simple DIY project you can do yourself in as little as one day per room. Some of the tools you need to install wainscoting paneling include:
-
Tape measure
-
Pencil
-
Miter saw
-
Jig saw
-
Pneumatic nail gun
-
Standard level
-
Construction adhesive
-
Foam roller
-
Wood glue
-
Wood putty
-
Drop cloth
-
Safety glasses
-
Ear protection
-
Outlet box extension rings
-
Finishing nails
-
Paint
In addition to these tools, you will need your wainscoting panels and trim. You can purchase these individually or in a wall panel kit that includes everything you need.
You also need to decide what material is best for the room where the paneling will be installed. For instance, vinyl is better for bathrooms with higher humidity and moisture levels, while wood or MDF panels are perfect for dining rooms, living rooms, and bedrooms.
Installation Tips
- Remove moldings from the walls beforehand
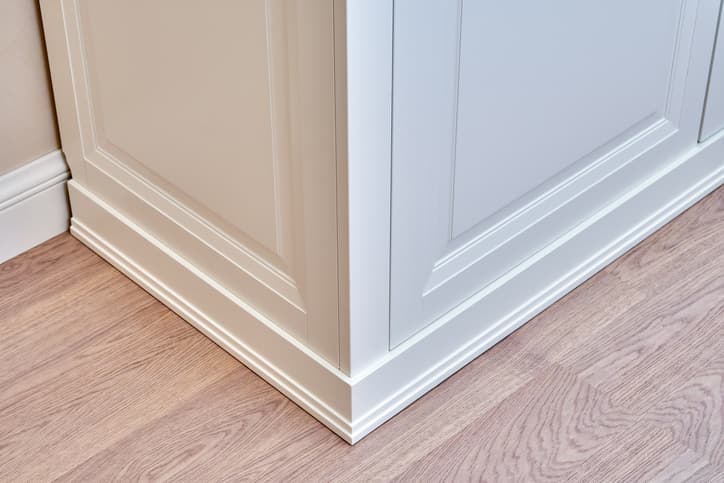
- Install the wainscot baseboards first
- Start on one wall and work your wall around the entire room
- Ensure all wainscot panels are cut the same size
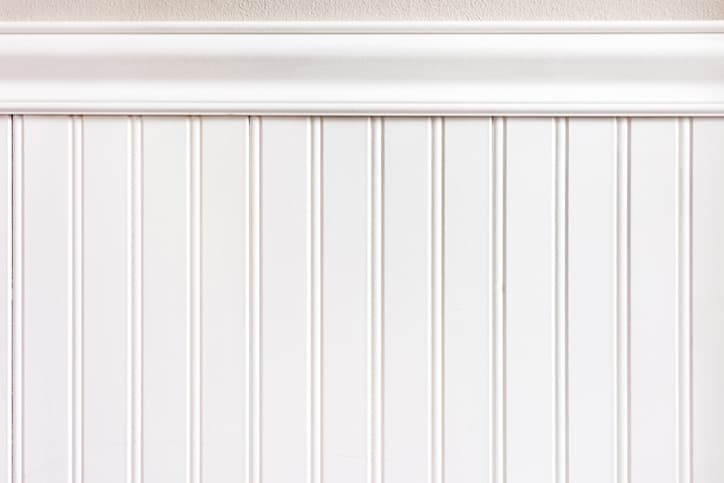
- Install the wainscot top rails last
- Use wood putty to cover up any nails, gaps, or holes on pre-finished pieces
- On unfinished pieces, paint or stain them in your desired color
How high should wainscoting be?
The height of the wainscoting panels is entirely up to you and your design preferences. If you want to stick with the traditional placement of wainscoting, it should be no higher than one-third of the wall.
For example, if you have nine-foot ceilings, the top rails would be placed three feet up the wall from the floor. If you have eight-foot ceilings, the top rails would be placed between 33 to 35 inches up the wall.
Yet, with the different variations and trends, you can cover the entire wall in the paneling from floor to ceiling. You could even decide to panel two-thirds of the wall and leave the upper one-third painted or wallpapered.
Wainscoting Do’s and Don’ts
- Do use glue to secure the paneling to the wall
- Do have fun experimenting with different materials, such as marble and tiles
- Do add your own finishing touches like decorative moldings
- Do create a design sketch for each wall/room
- Do consider using a design app to determine what you will need
- Don’t use the same panel styles for every room in your home
- Don’t use the same color wainscoting in the entire house
- Don’t be afraid to break tradition and come up with your own unique wainscoting designs and styles
Try Wainscoting Today
Wainscoting is still a popular interior design method used to give the rooms in your house a new look and feel. It offers you access to a variety of panel designs, colors, and material choices to reflect your personal tastes.
Wainscoting can be a DIY project when you are handy with power tools, or you can hire a contractor to complete the work. Lastly, when you want to try wainscoting, do one room first to see how it looks. If you like the new look, then feel free to add it to more rooms in your house.


